Help & Advice Articles, Videos and How-to-Guides
Filter Articles

The Complete Guide to Wall Tanking & Waterproofing
The internal walls of a property are vulnerable to water ingress and damp. This means you are open to a whole load of potential problems. If you want to take steps to protect against this or deal with existing damp walls then you should consider wall tanking. We take you through the tanking methods available and the products you will need along with our usual no-nonsense advice.
Why do walls get damp?
The walls of a building can become damp for many reasons: building faults, penetrating damp, plumbing issues, and rising damp. Ultimately, damp walls are bad news. They can lead to structural issues as well as causing health issues. It also damages decorations, and looks and smells bad. Damp in walls is commonly caused by penetrating damp and in some rare occasions rising damp. Below ground, you may experience damp walls due to water ingress. This occurs due to hydrostatic pressure being exerted on the earth-retaining walls.
Penetrating damp
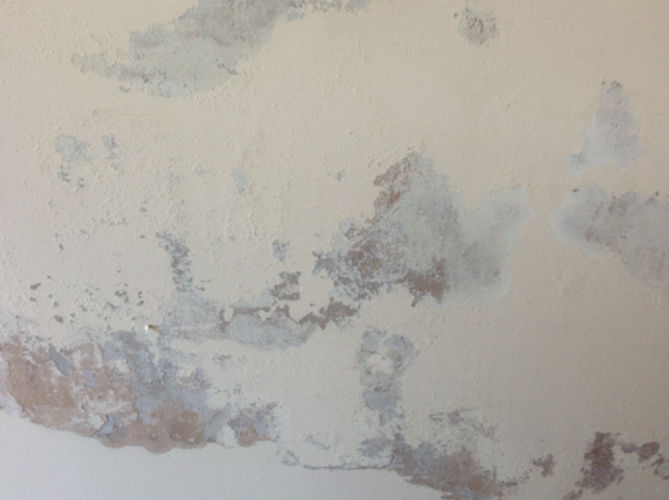
Walls can become wet because they are structurally compromised, where a building fault is allowing water to enter and pass through. It may be that there is a crack in some brickwork/render. Blocked gutters and plumbing issues can also result in penetrating damp. With water coming through to the inside of your property, you may see localised spots of black mould, paint blistering and damp patches - these are the common signs that you may be dealing with penetrating damp. In the UK, it is quite a common problem as we have a perfect storm of wet weather and old buildings that may have damaged outer walls. Tanking is a reliable way of dealing with the effects of penetrating damp once the root cause has been fixed.
Rising damp
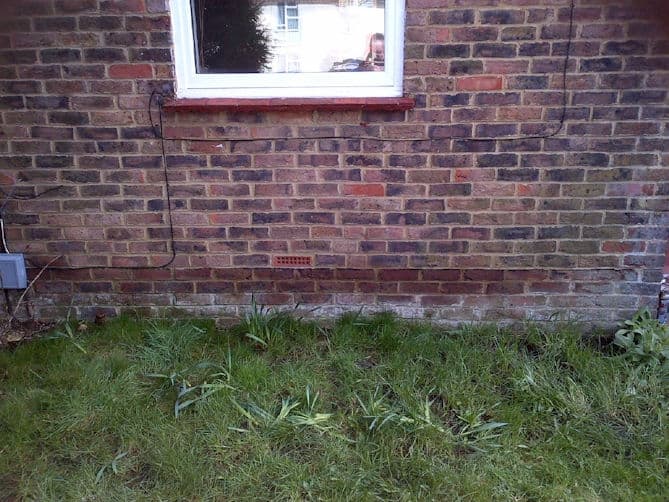
Although rising damp can’t be solved by tanking, it’s worth giving you a quick overview and telling you where to find more information to rule it out. Walls made of stone and brick are porous which means that they can absorb moisture sitting either underneath or by the side of them. Ordinarily, a physical or chemical damp proof course (DPC) exists to prevent this. However, if there is no DPC or it has failed then moisture from the ground can rise up through the wall via a process called capillary action. When the water evaporates through the wall surface, white salt crystals can be seen in small deposits on the wall that can look like tide marks
Find out more about spotting and treating rising damp.
What is wall tanking?
Wall tanking or “tanking” is a method of preventing water ingress by creating a completely impermeable waterproof barrier on an internal wall. When we refer to tanking walls, it's usually in reference to below ground structures like basements or as a precautionary measure on damp walls above ground. The term “tanking” comes from the idea that by completely sealing a room, a waterproof tank-like barrier is created.
Walls below ground like basements, cellars and sunken garages are often surrounded by earth. This means that moisture, water pressure and ingress are serious considerations.
How do you tank a wall?
To tank a wall, there are two common tanking methods available depending on your needs.
- Cementitious tanking slurry - a paint-like substance that has been chemically engineered to form a protective barrier when applied to internal walls.
- Waterproof tanking membrane - a plastic sheet barrier designed to achieve the same aim.
Let’s explore these two tanking options in more detail.
What is cementitious tanking slurry?
Tanking slurry or “cementitious tanking” is a thick liquid coating that is applied to the masonry surface to create a waterproof barrier. It is essentially a type of cement fortified with polymers and other aggregates. The slurry penetrates the porous passageways in the stone/brick and then sets to create a watertight bond, blocking water from traveling through the wall.
Tanking slurry is a great option because it can be applied with very limited damp proofing technical knowledge, has next to no structural impact and is a reliable way of keeping water out.
When to use tanking slurry?
Tanking slurry can be used on a damp wall above ground to stop the passage of water. Ideally, you will want to identify and resolve the source of damp before applying it.
Below ground, you can use tanking slurry by itself as a form of Type A Waterproofing (barrier system). This offers you reliable protection from water ingress. Having said that, many people like the reassurance of drained protection with a cavity drainage system (wall & floor membranes and sump pumps). If there is already water ingress of a substantial volume in a cellar or basement, you can use the tanking slurry to reduce the load on the system and the pumps before installation. If you're unsure which basement waterproofing method is best for you, then read our guide.
Sometimes you may be dealing with a live leak in a basement or cellar. In these situations, we recommend a rapid tanking system to stop the ingress.
Read our no-nonsense tanking guides:
How to use tanking slurry
Tanking slurry is supplied as a powder that you will need to mix yourself. It is essential that you apply tanking slurry with the proper direction, following manufacturer’s instructions.
- Prepare your wall before applying any slurry by removing any fixtures. You’ll need to remove shelves, pictures etc until the wall is completely bare. Remove any plaster and render from the walls along with any previous coatings (bitumen, paints etc) right back to the original masonry. Rake out old and replace loose mortar joints and remove any other loose material before finally making sure the walls are dust-free. You will then need to carry out repairs on any cracks or holes that you can see with PermaSEAL Fillet Seal. If there is any evidence of issues with high levels of salts, it is recommended that you apply a Salt Inhibitor to the cellar walls to prevent any salts from compromising your tanking. You should also wet the walls to help the slurry bond to the substrate.
- Wear protective overalls and a mask as the chemical compounds in cementitious slurry can be harmful to eyes and skin.
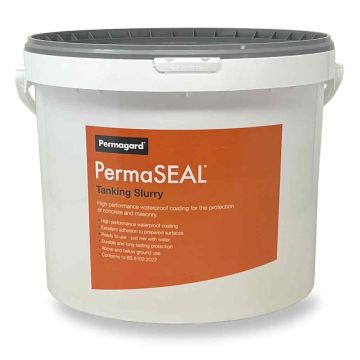
- Mix the PermaSEAL Tanking Slurry powder with water. We sell this product in 25kg buckets which should be diluted to 7.9 litres of water. The mixture must have a batter like consistency which can be achieved with a paddle mixer. A cement mixer should be avoided.
- Apply first coat horizontally, paying special attention to where the floor meets the wall. Slurry must be applied quickly as it will start to set around the 45-minute mark.
- Apply second coat vertically once the first is dry but make sure this is done within 24 hours of the first coat drying
How thick should Tanking Slurry be?
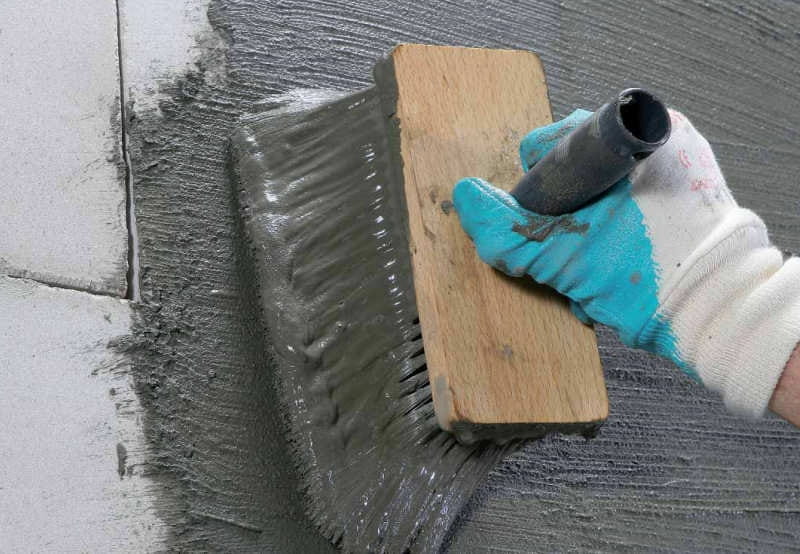
Assuming you have mixed our PermaSEAL tanking slurry to the correct powder to water ratio, the tanking slurry consistency should take on a silky batter-like consistency. The mix must be applied to the wall evenly using a tanking brush, which is not possible if you mix the slurry too thick.
What are tanking membranes?
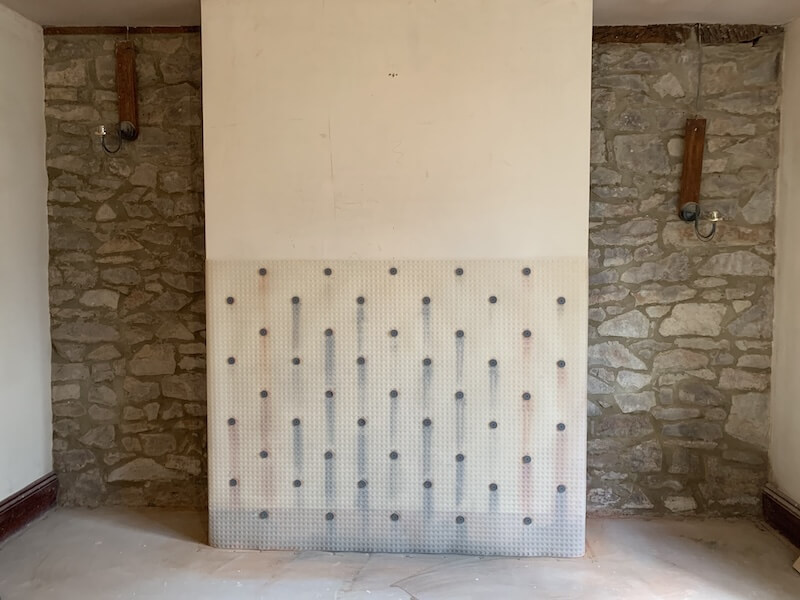
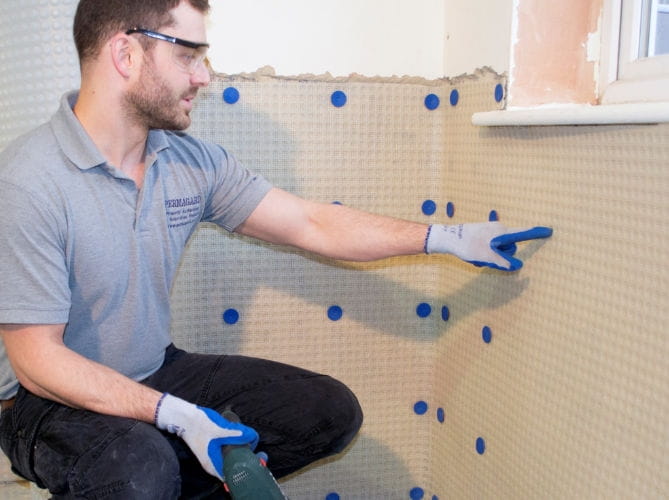
Tanking membranes also known as damp proof membranes are sheets of specially designed plastic material that act as a waterproof barrier to protect walls and floors from water ingress. Made from high quality HDPE, they are designed to withstand years of temperature fluctuation and exposure to water without becoming worn or degraded. Tanking membranes are easy to install onto damp walls, creating a small cavity to allow the wall to dry out.
Above ground, we recommend a 3mm mesh membrane (the mesh provides an excellent key for dot and dab plasterboard or direct rendering) or 3mm clear membrane that is suitable for use behind stud work.
Below ground, we would recommend you opt for cementitious tanking as outlined earlier in this article or a cavity drainage system featuring wall and floor membranes, drainage channels and sump pumps. This Type C drained protection effectively channels any water ingress down the walls to a drainage channel and to a sump chamber where it can then be pumped safely away.
Tanking membrane installation
Since the installation of tanking membranes involves making a watertight barrier using sheets of studded cavity drain membrane, a great deal of care and attention to detail must be taken.
- Measure up – Before buying any tanking membranes make sure you measure up the total wall area that requires tanking. You can then purchase a membrane kit with enough rolls of membrane for the project.
- Prep the wall – The membrane sheets will be held up with fixing plugs driven straight into the substrate. Make sure you level out the surface, strip back any unstable plaster and eradicate any mould.
- Fix membranes to the wall – Fix your membrane sheets to the wall by drilling a hole through the membrane into the wall before using a rubber mallet to hammer in the plastic fixing plugs. The spacing width for vertical and horizontal plug fixings differs so make sure to follow the instructions as specified in your membrane kit. It’s also very important to fix the membranes so that they fit tightly across the wall with little to no slack.
- Seal off any gaps – Using waterproof tape, make sure to cover up any areas where water ingress may squeeze through such as the joins between membrane sheets, around fixing plugs, or where the membranes reach the floor or cavity drainage system.
- Decoration – You can now add dot and dab plasterboard or render and plaster if using a mesh membrane or build your timber framework before your choice of final decoration.
When to use tanking slurry or membrane for your walls
Both wall tanking methods that we’ve outlined are effective choices for dealing with damp walls above ground.
When it comes to below ground, it often pays to stop the water before it enters the building. Cementitious tanking slurries are a very successful way to achieve this and effectively tank a basement. Not every waterproofing situation below ground requires a cavity drain membrane. Many European countries do not use cavity drain membranes and rely on cementitious systems.
However, walls below ground are often subject to hydrostatic water pressure and any flaw in the application of cementitious tanking can have serious consequences. Type C cavity drainage systems should be a consideration.
Properties in areas with a high water table, at flooding risk or on lower ground with little natural drainage could be at higher risk. They therefore require a more robust barrier to deal with any water ingress. Walls above ground level do not experience hydrostatic pressure that leaves tanking slurry as a good option.
Next-generation wall tanking products from Permagard
At Permagard, our PermaSEAL tanking membranes and slurry products are seen as industry-leading by DIYers and professionals alike. We offer these products in either bulk or smaller quantities so no matter the size of the job, you’ll find what you need.
Do you have questions about our wall tanking products? Our friendly team can provide technical advice and information on 0117 982 3282.
