Help & Advice Articles, Videos and How-to-Guides
Filter Articles
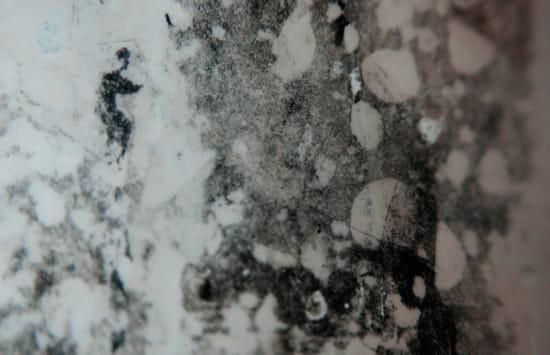
How To Remove Mould From Walls
Mould on interior walls doesn’t just look unpleasant, it can also be bad for your health. Depending on the amount of mould, it could also suggest a larger problem in your home. This guide explains how to identify and remove mould from your walls, as well as prevent it from coming back.
In this guide:
- Mould vs mildew
- What causes mould on walls?
- Removing mould from walls
- Mould removal kits & products
- How to stop mould from coming back
Mould or mildew?
Although mould and mildew look similar, there are big differences in how they must be treated.
What is mildew?
Mildew is a surface fungus that has a grey or white fluffy appearance. You'll usually find it on surfaces in moist areas such as the bathroom and kitchen. Mildew is easier to remove — all you need is a scrubbing brush and a store-bought cleaner, followed by installing a Perma-Vent for future protection.
What is mould?
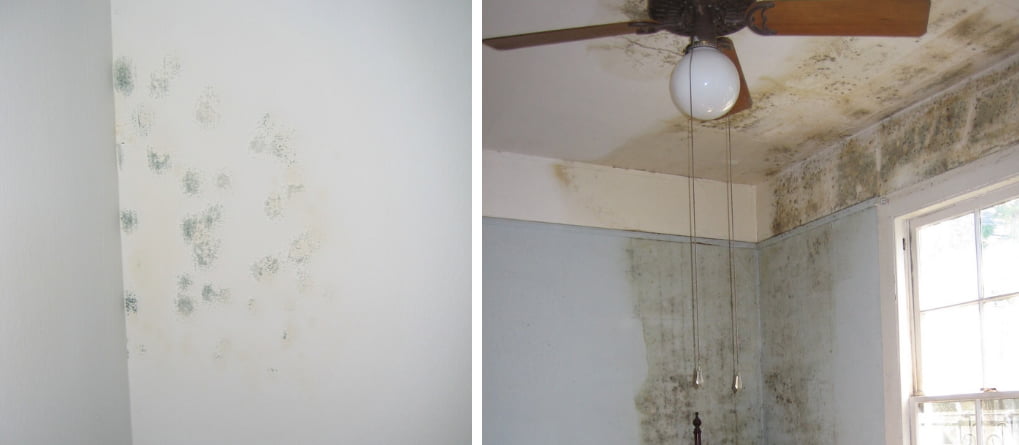
Mould, on the other hand, is the result of a larger fungal infection. It has a black or green appearance and looks slimy in comparison to mildew. If left untreated, mould can release toxins into the air and may have a negative effect on your health. Keep reading to find out more about how to remove mould for good.
Visit the GOV.UK site for more information on the health risks associated with damp and mould.
What causes mould on walls?
Black mould is often a result of condensation. When warm, moist air comes into contact with a surface at a lower temperature, the moisture condenses onto it. After a while, mould will start to grow on the surface.
Condensation commonly occurs on surfaces such as windows and walls — in particular on external walls, which are often the coldest internal surfaces. Black mould will generally start growing in crevices, windowsills and seals where airflow is reduced.
It’s common to find black mould in the bathroom due to high humidity levels.
Another possible cause of mould growth on walls is penetrating damp. This might be due to a blocked gutter, a leaking pipe or a failure in part of the building’s structure. Water finds its way into a room or area, creating damp patches that then support mould growth.
Mould spreads incredibly quickly because it reproduces asexually. A single spore can produce trillions more in just a few days.
It’s important to assess the cause of the mould because if you treat it without fixing the root cause, it’s likely to keep coming back. Identifying or fixing larger damp issues may require a professional. If you’re unable to find the source of the damp, reach out to a damp specialist for advice.
Removing mould from walls
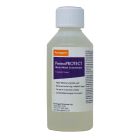
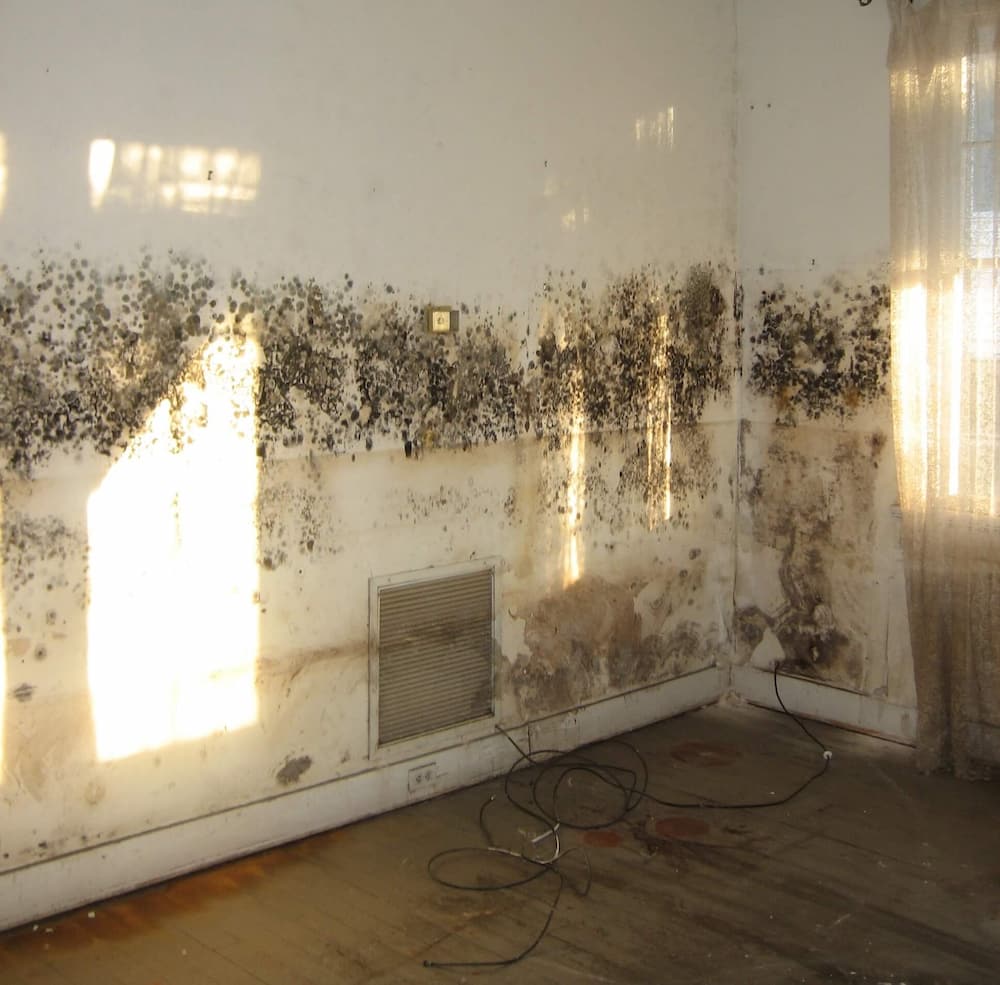
When removing black mould from walls, we’d suggest using a specially designed mould wash concentrate instead of bleach. Mould wash is a fungicidal treatment that removes the mould and works across a variety of surfaces including tiles, wood and painted surfaces. Bleach, however, only wipes the mould from the surface instead of killing it.
Using a mould wash is simple and highly effective:
-
Prepare your surfaces by removing any loose material such as flaking paint or wallpaper with a hard-bristle brush. Make sure the surface has a smooth finish.
-
Wash down the prepared area with the diluted Mould Wash Concentrate and a sponge, scrubbing until all visible mould is removed.
-
Allow the area to dry thoroughly.
-
For badly soiled areas, apply the diluted Mould Wash Concentrate again and allow it to dry.
For more information about removing mould from your bedroom, read our guide.
Removing mould from painted plaster walls
The method above will work for any mould on painted plaster walls. However, it’s important to pay extra attention to surface preparation, as mould can cause painted plaster to flake.
Plasterboard walls
It’s a common myth that bleach removes mould from plasterboard. As plasterboard is constructed of layers, using bleach or even mould wash will only remove surface mould. Active mould growing within the layers of the plasterboard will remain. Unfortunately, the only effective way to eliminate mould from plasterboard is to replace it.
Safety precautions
All PermaPROTECT products are HSE-approved and conform with COPR (Control of Pesticides Regulations). This means that any biocides used are approved for use and safely incorporated into PermaPROTECT products.
That said, these are still chemicals, and mould is something you want to limit contact with. Use gloves, goggles and a mask (included in our mould remover kit). Keep doors closed to prevent spores spreading and ensure windows are open for ventilation.
Mould removal kits & products
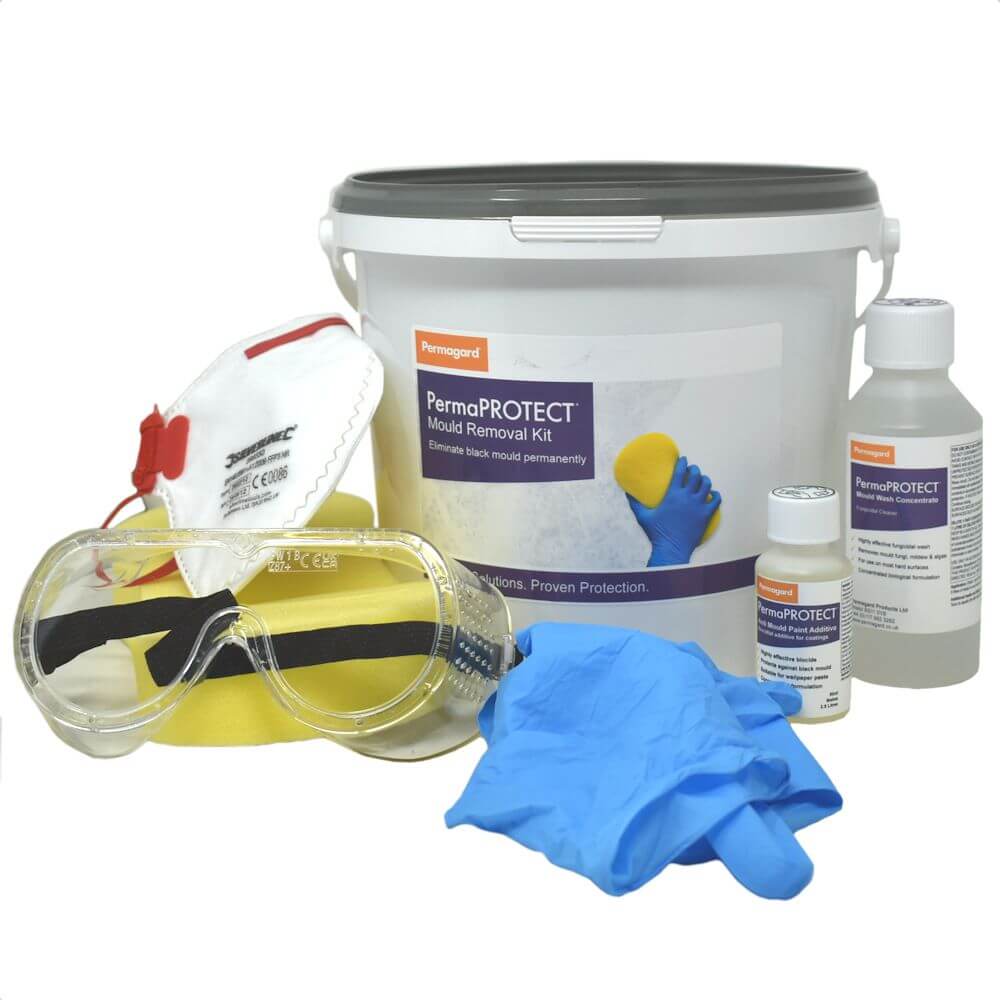
If you’re a first-time mould buster, then our Mould Removal Kit is perfect. It contains everything you need to get rid of mould — even the bucket!
The kit contains:
- Mould Wash Concentrate
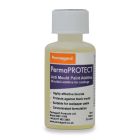
- Anti-Mould Paint Additive
- Bucket
- Sponge
- Mask
- Gloves
- Goggles
Decorating tips for mould-affected walls
Once the wall is completely dry, use the Anti-Mould Paint Additive as follows:
-
Add the 50ml bottle into 2.5L of paint, wallpaper paste or tile grout and mix thoroughly.
-
Apply the paint as per the manufacturer’s instructions. Allow to dry fully before applying a second coat.
Our additive is professionally developed to prevent mould growth — even in bathrooms and kitchens.
Buy our Mould Removal Kit to get rid of mould for good.
Already have the basics? Stock up on:
Stopping mould from coming back
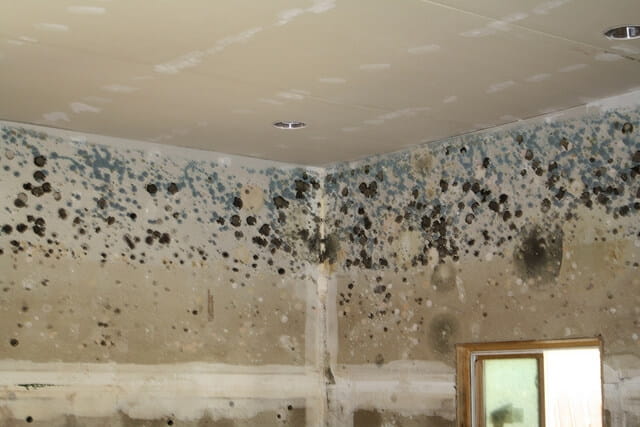
The key to stopping mould returning is to fix the underlying issue, usually poor ventilation or excess moisture, though structural defects can also contribute.
Mould prevention products
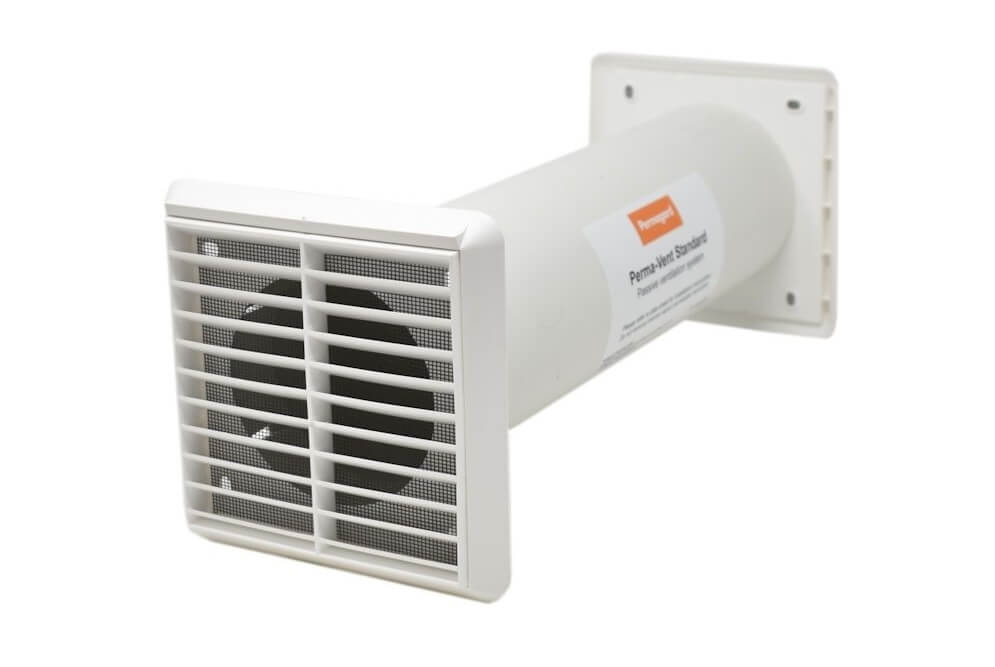
The environmentally friendly Perma-Vent requires no power or maintenance. When internal humidity and temperature are higher than outside, moist air naturally moves outdoors. Install in bathrooms, kitchens and bedrooms.
Single-room heat recovery units
These units remove warm, moist air and replace it with filtered fresh air. A built-in heat exchanger recovers heat from outgoing air, helping reduce heating bills.
This specialist paint raises wall surface temperature to make condensation less likely. Hollow glass beads reflect thermal energy, helping keep walls warmer and reducing the chance of mould.
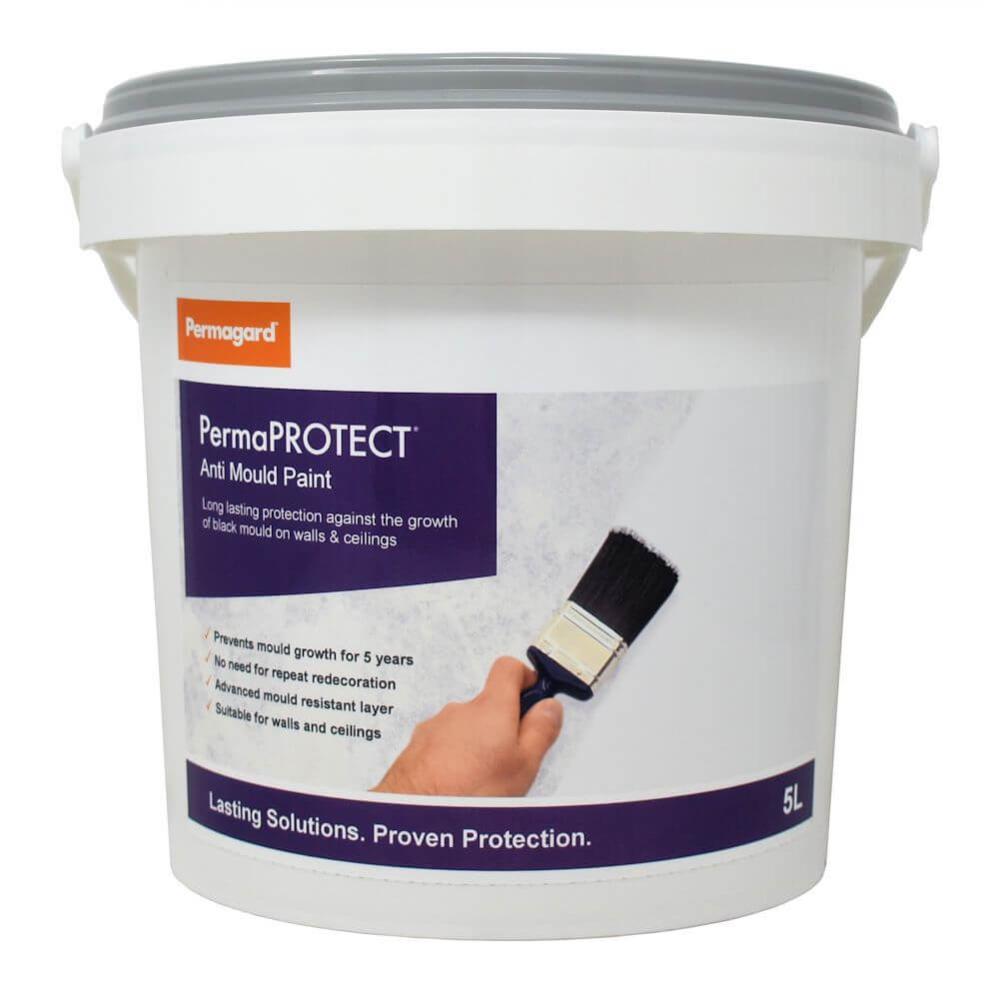
PermaPROTECT Anti-Mould Paint guarantees five years of mould protection. It includes highly advanced biocides and is applied like standard emulsion.
*Do not paint over with other paints or wallpaper.
Learn more: Does anti-mould paint work?
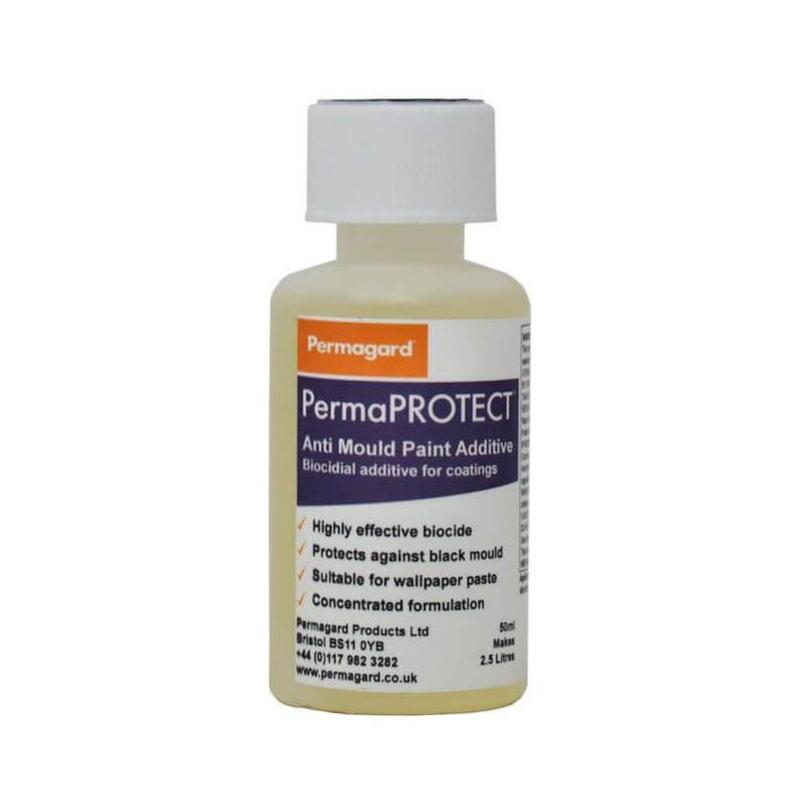
Add this to paint, wallpaper paste or tile grout to provide long-term mould protection on decorated surfaces.
Simple tips to reduce condensation & black mould
Mould on walls is often the result of excess moisture. Try the following:
- Reduce moisture — don’t dry clothes indoors, cover pans and use extractor fans.
- Encourage cross-ventilation by opening windows on opposite sides of your home daily.
- Maintain a consistent indoor temperature.
- Keep furniture away from external walls.
- Install a zero-maintenance Perma-Vent.
More guides:
- Avoid condensation in your bathroom
- How to stop condensation on windows
- How to get rid of condensation
- How to ventilate your house
Permagard – Over 35 Years of Condensation Control
If you have any questions about reducing condensation or removing mould, call our team on 0117 982 3282. We can advise you on the best ventilation methods and treatments. You can also browse our condensation control products or explore our anti mould range.
Show updates
- 21/11/2025 — Updated products.
